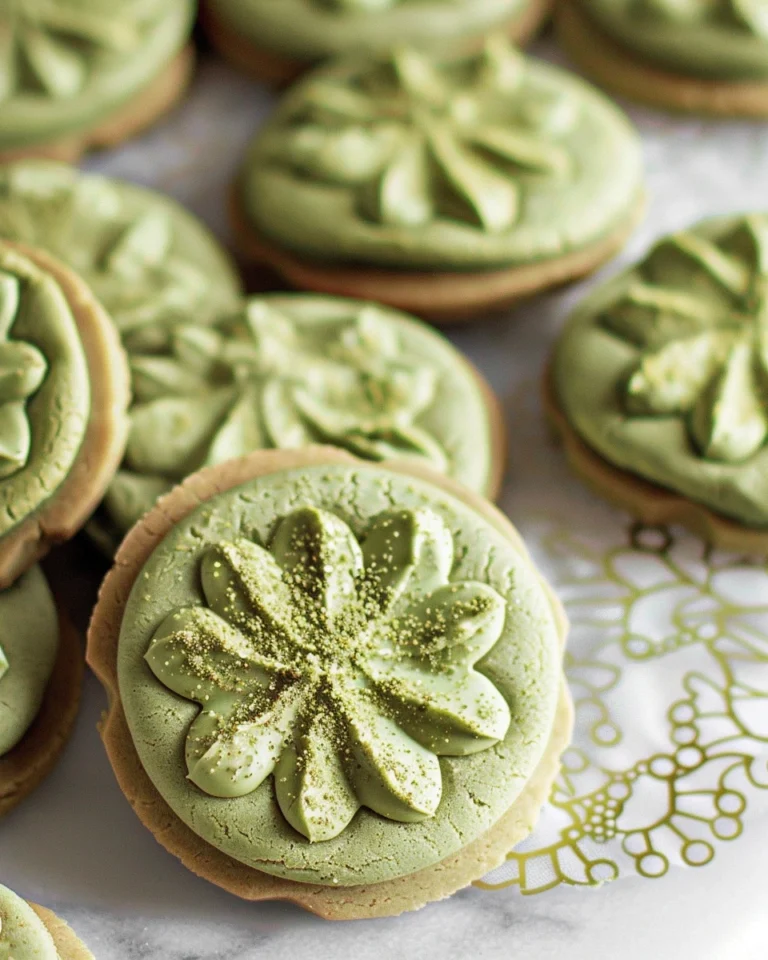

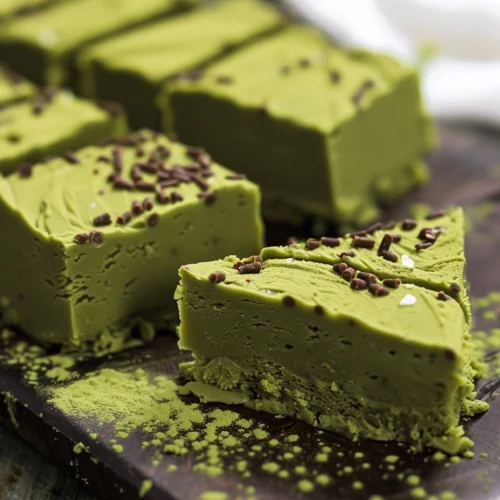
If you’ve ever bought protein bars that tasted chalky, overly sweet, or full of ingredients you can’t pronounce, you’re not alone. Finding a protein bar that’s both healthy and actually enjoyable can feel impossible. That’s exactly why these Healthy Matcha Green Tea Fudge DIY Protein Bars are such a game changer.
They’re soft, fudgy, naturally sweet, and packed with nourishing ingredients—no baking, no artificial flavors, and no weird aftertaste. I’ve made these bars countless times for meal prep, post-workout snacks, and afternoon energy boosts. In this recipe, you’ll learn how to balance matcha flavor, get that perfect fudge-like texture, and customize the bars to fit your nutrition goals.
Why You’ll Love This Recipe
-
Fudgy & satisfying: Tastes like a treat, eats like fuel
-
No-bake & easy: Comes together in minutes
-
Clean ingredients: No refined sugar or preservatives
Ingredients & Prep
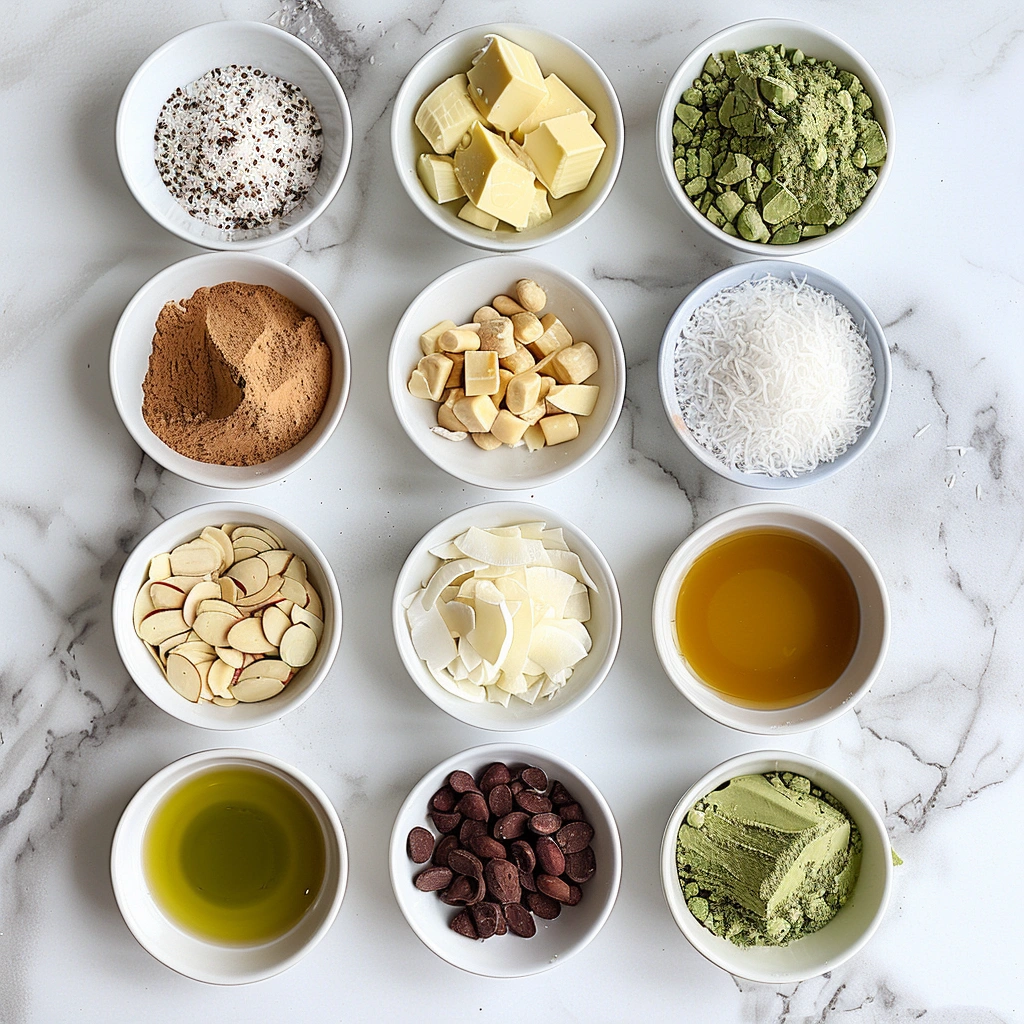
Main Ingredients Prep
-
Almond flour: Creates a soft, fudgy base
-
Protein powder: Vanilla or unflavored works best
-
Nut butter: Almond butter or cashew butter for creaminess
Make sure your nut butter is runny and well-stirred for easy mixing.
Seasonings, Sauces, or Flavor Base
-
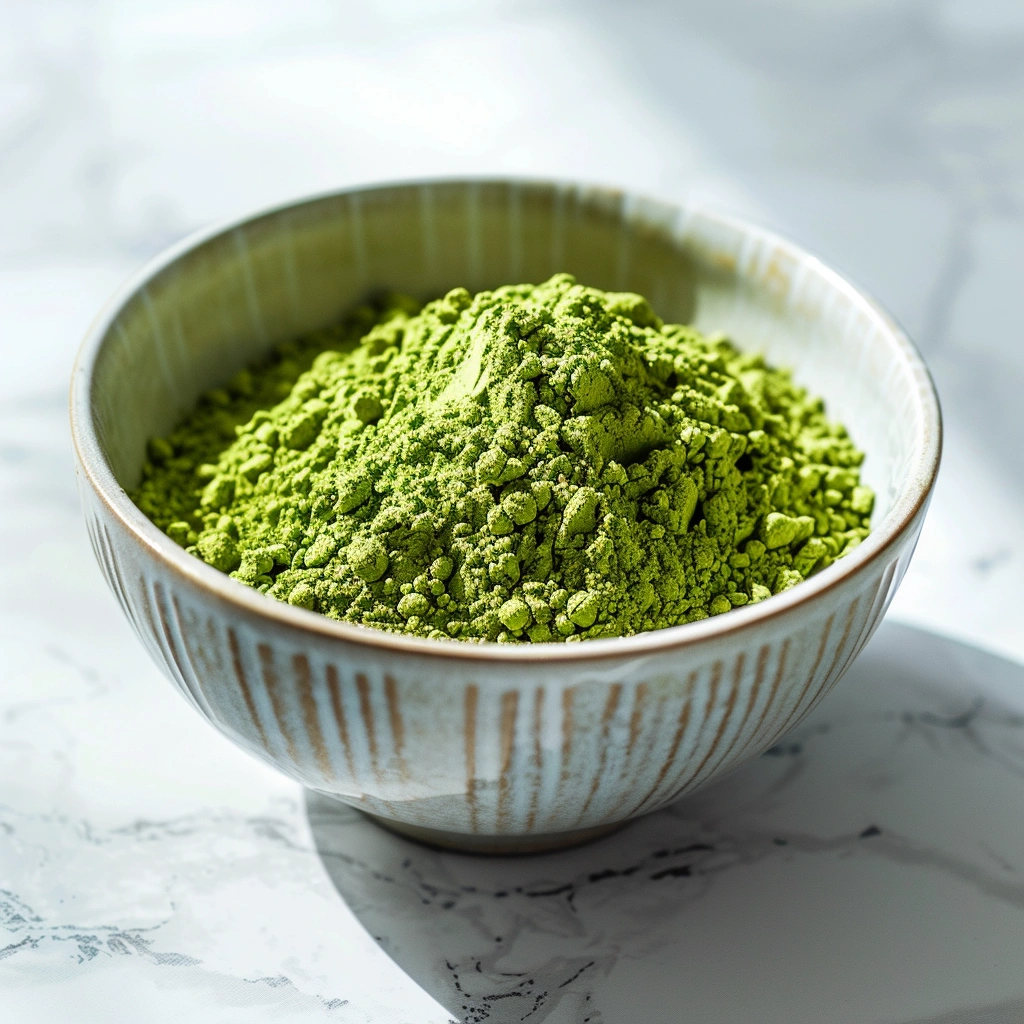
Matcha green tea powder: Culinary-grade for smooth, earthy flavor
-
Vanilla extract: Balances and softens matcha bitterness
-
Maple syrup or honey: Naturally sweetens the bars
Pantry Staples
-
Coconut oil (melted)
-
Pinch of salt
-
Optional toppings: white chocolate drizzle, cacao nibs, shredded coconut
Step-by-Step Cooking Instructions
Pre-Assembly Prep
-
Line an 8×8-inch pan with parchment paper, leaving overhang on the sides.
-
Measure all ingredients before mixing.
Mixing Method
-
In a large bowl, mix almond flour and protein powder until combined.
-
Add matcha powder and salt. Stir well to distribute evenly.
-
Add nut butter, melted coconut oil, maple syrup, and vanilla.
-
Mix until a thick, smooth, fudge-like dough forms.
Doneness or Texture Check
-
Mixture should hold together when pressed
-
Texture should be soft but not sticky
-
Color should be evenly green with no dry patches
Resting or Final Touches
Press mixture firmly into the prepared pan, smoothing the top. Add optional toppings if using. Refrigerate for 1–2 hours until set, then lift out and slice into bars.
Pro Tips for Perfect Results
Common Mistakes to Avoid
-
Too much matcha: Start small to avoid bitterness
-
Dry dough: Add a teaspoon of nut butter or oil if needed
-
Loose pressing: Press firmly so bars hold their shape
Recommended Tools
-
Mixing bowl
-
Rubber spatula
-
Parchment paper
-
Sharp knife
Storage & Reheating Tips
-
Store bars in an airtight container in the fridge for up to 7 days
-
Freeze for up to 2 months
-
Enjoy straight from the fridge or slightly softened
Flavor Variations
Spicy Version
-
Add a pinch of ground ginger or cardamom
-
Sprinkle chili-lime seasoning on top
Healthy / Special Diet Option
-
Vegan: Use plant-based protein powder and maple syrup
-
Low-carb: Use a low-carb sweetener and almond butter
-
Nut-free: Use sunflower seed butter
Global Flavor Twist
-
Japanese-inspired: Add white chocolate drizzle
-
Coconut matcha: Mix in shredded coconut
-
Dessert-style: Swirl in melted dark chocolate
Serving Suggestions
These matcha protein bars are perfect for:
-
Post-workout fuel
-
Midday energy boost
-
Grab-and-go breakfasts
Enjoy them with:
-
Matcha latte or green tea
-
Coffee
-
Fresh fruit
They’re great for:
-
Meal prep
-
Lunchboxes
-
Healthy dessert cravings
FAQs
Can I make these ahead of time?
Yes. These bars are ideal for meal prep and actually taste better once fully chilled.
How do I fix common mistakes?
If bars are too soft, chill longer. If too firm, let them sit at room temperature for a few minutes before eating.
Conclusion
These Healthy Matcha Green Tea Fudge DIY Protein Bars are everything a homemade protein bar should be—fudgy, flavorful, nourishing, and incredibly easy to make. They satisfy sweet cravings while keeping ingredients clean and simple.
Readers love how balanced and energizing these bars are, especially for busy days. If you enjoyed this recipe, try pairing it with a Healthy Key Lime Pie Milkshake or Healthy Matcha Green Tea Sugar Cookies for a naturally vibrant, feel-good snack lineup. Enjoy every bite!
Healthy Matcha Green Tea Fudge DIY Protein Bars
Ingredients
- 1½ cups almond flour
- ½ cup protein powder vanilla or unflavored
- 2 tablespoons culinary-grade matcha green tea powder
- Pinch of salt
- ½ cup almond butter or cashew butter runny, well-stirred
- 2 tablespoons coconut oil melted
- ¼ cup maple syrup or honey
- 1 teaspoon vanilla extract
- Optional Toppings
- White chocolate drizzle
- Cacao nibs
- Shredded coconut
Instructions
- Line an 8×8-inch pan with parchment paper, leaving overhang on the sides.
- In a large bowl, mix almond flour and protein powder until combined.
- Stir in matcha powder and salt, mixing well to distribute evenly.
- Add nut butter, melted coconut oil, maple syrup (or honey), and vanilla extract.
- Mix until a thick, smooth, fudge-like dough forms.
- Press mixture firmly into the prepared pan and smooth the top.
- Add optional toppings if using.
- Refrigerate for 1–2 hours, until set.
- Lift out using parchment paper and slice into bars.
Notes
- Start with less matcha if you’re new to the flavor and adjust to taste.
- If the mixture feels dry, add 1 teaspoon nut butter or oil at a time.
- Press firmly into the pan so the bars hold together when sliced.