Spooky Skeleton Oreos: Your Ultimate Guide to a Holiday Treat
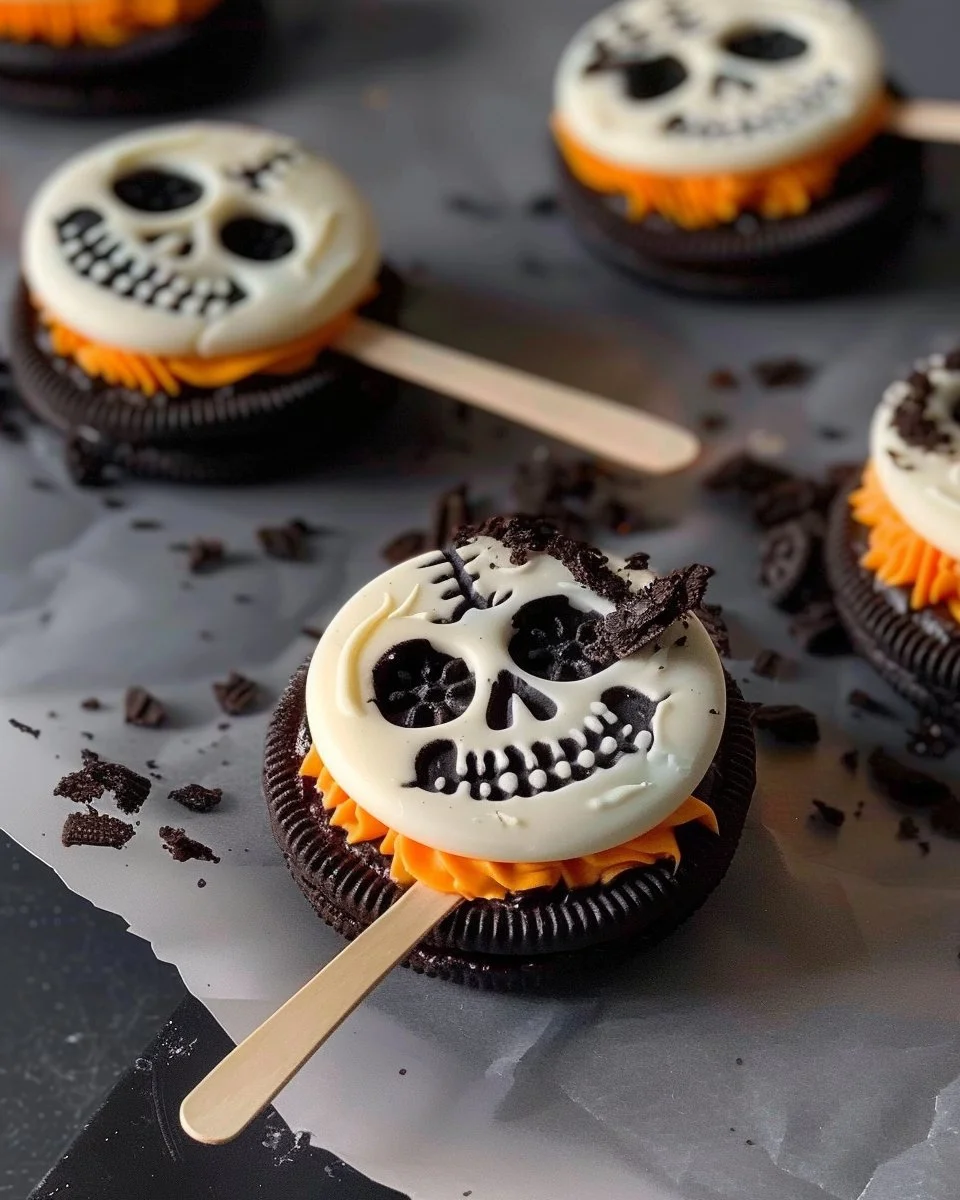
Halloween is just around the corner, and if you’re looking to impress your guests or delight the little ghouls and goblins in your life, you’re in for a treat with Spooky Skeleton Oreos. These delightful and eerie creations are not only visually stunning but also ridiculously easy to make. Imagine the joy on your kids’ faces when they bite into these spooky delights, which look like they crawled right out of a haunted graveyard. In this guide, we’ll explore everything you need to know to turn ordinary Oreos into extraordinary spooky skeletons that will be the talk of any Halloween party.
Why You Should Make Spooky Skeleton Oreos
Making Spooky Skeleton Oreos is not just about the fun of crafting a tasty treat; it’s about creating special moments and memories. Halloween is a time when families come together to celebrate with themed parties and haunted houses. These skeleton Oreos add a festive touch to any gathering and can be used as decorations, party favors, or even as a fun activity to do with kids. Plus, they are incredibly easy to customize, which means you can make them as creepy or cute as you desire.
The Ingredients You’ll Need
Before you dive into creating your spooky snack, gather the following ingredients:
- Oreos: The classic chocolate sandwich cookies will serve as the base.
- White chocolate: For dipping the Oreos and creating a ghostly appearance.
- Black icing: For decorating and adding those spine-chilling features.
- Candy eyes: These will bring your skeletons to life—or, at least, give them a haunting gaze.
With these simple ingredients, you’re well on your way to crafting your spooky masterpieces.
Step-by-Step Guide to Crafting Your Spooky Skeleton Oreos
Creating your Spooky Skeleton Oreos is as easy as 1-2-3. Follow these steps to make sure they turn out perfectly spooky!
- Melt the White Chocolate:
- In a microwave-safe bowl, melt the white chocolate in 30-second increments, stirring in between until smooth.
- Dip the Oreos:
- Take each Oreo and dip it into the melted white chocolate. Ensure it’s fully coated. Use a fork to lift it out and let excess chocolate drip off. Place the dipped Oreos on parchment paper to cool.
- Decorate with Icing:
- Once the white chocolate has hardened, use the black icing to pipe skeleton features. Think about drawing skeleton arms and legs or putting a skull face with eyes and a mouth.
- Add Candy Eyes:
- Place the candy eyes on each Oreo while the icing is still wet. This will ensure they stick well.
- Let It Set:
- Allow the decorated Oreos to sit until the icing is completely set. Then they’re ready to serve!

Creative Variations to Try
While the classic spooky skeleton design is adorable, let your creativity run wild! Here are a few fun variations:
- Pumpkin Oreos: Use orange chocolate for coating and draw jack-o’-lantern faces instead of skeletons.
- Ghostly Ghouls: Dip Oreos in white chocolate and use edible markers to draw ghost faces.
- Bloodied Bones: Add a bit of red food coloring in the icing to give a bloodied appearance for an extra spooky effect.
Common Mistakes to Avoid
When making your Spooky Skeleton Oreos, keep these tips in mind to avoid common pitfalls:
- Overheating Chocolate: Ensure you melt the chocolate slowly. If it burns, it won’t set properly.
- Too Much Icing: Be cautious not to overdo the black icing decoration, as it can overpower the treat’s sweetness.
- Skipping the Cooling Step: Letting the white chocolate cool completely is important for preventing the icing from sliding off.
Fun Serving Ideas
Once your Spooky Skeleton Oreos are ready, consider these creative ways to present them:
- Halloween Treat Bags: Package them in clear bags tied with festive ribbons for a fun giveaway.
- Party Platters: Arrange them on a Halloween-themed platter surrounded by other spooky treats like candy corn and mini pumpkins.
- Decorative Jars: Display them in glass jars with spooky labels for a decorative touch at your Halloween party.
Storage Tips for Your Spooky Treats
Your Spooky Skeleton Oreos are sure to be a hit, but what if you have leftovers? Here are a few storage tips:
- Room Temperature: Store in an airtight container at room temperature for up to one week.
- In the Fridge: If you prefer them chilled, they can last a little longer in the fridge, up to two weeks.
- Freezing: If you’d like to make them ahead of time, you can freeze them for up to three months. Just ensure they are well-wrapped to prevent freezer burn.
Frequently Asked Questions
What are Spooky Skeleton Oreos?
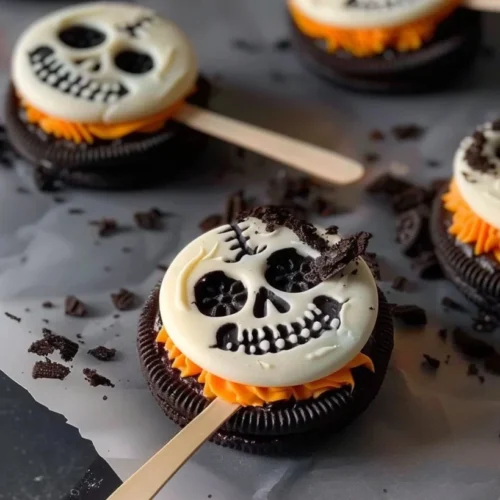
Spooky Skeleton Oreos are fun, festive treats made by dipping Oreos in white chocolate and decorating them to look like skeletons using icing and candy eyes.
How long do Spooky Skeleton Oreos last?
Stored properly in an airtight container, they can last up to one week at room temperature and even longer if refrigerated or frozen.
Can I use different types of Oreos for this recipe?
Absolutely! You can use any flavor of Oreo, such as golden or mint, to create fun variations.
Do I need special tools to make Spooky Skeleton Oreos?
No special tools are required, but having a good piping bag for the icing will help create cleaner designs.
Can kids help with making Spooky Skeleton Oreos?
Yes! Making these treats is a fun activity for kids, especially when it comes to decorating!
Conclusion
Spooky Skeleton Oreos are more than just a delicious Halloween treat; they’re a way to engage in festive fun and create lasting memories with loved ones. With just a few simple ingredients and some creativity, you can whip up these charming delights that are sure to delight both young and old. So gather your supplies, invite your friends or family, and enjoy this fun-filled baking adventure. Whether you’re hosting a Halloween party or simply treating yourself, these spooky delights will be a hit. Happy haunting!
Spooky Skeleton Oreos
Ingredients
Main Ingredients
- 12 pieces Oreos Classic chocolate sandwich cookies.
- 1 cup white chocolate For dipping the Oreos.
- 1 tube black icing For decorating the skeleton features.
- 12 pieces candy eyes To create the eyes for the skeletons.
Instructions
Preparation
- Melt the white chocolate in a microwave-safe bowl in 30-second increments, stirring in between until smooth.
- Dip each Oreo into the melted white chocolate, ensuring it is fully coated. Use a fork to lift it out and let excess chocolate drip off.
- Place the dipped Oreos on parchment paper to cool.
- Once the white chocolate has hardened, use the black icing to pipe skeleton features such as arms, legs, or a skull face.
- While the icing is still wet, place candy eyes on each Oreo.
- Allow the decorated Oreos to sit until the icing is completely set before serving.