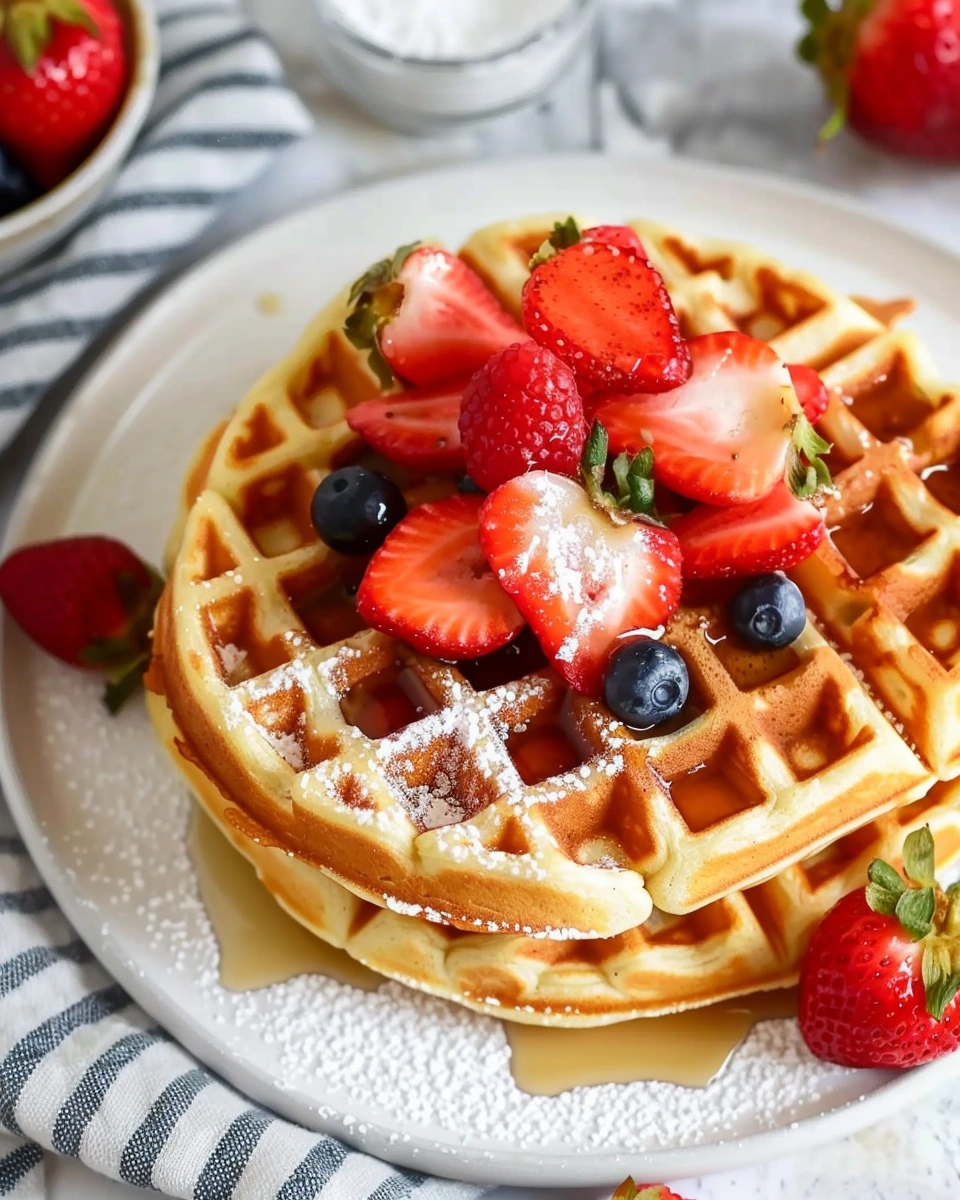
There’s nothing more disappointing than waffles that turn out flat, soggy, or bland. If you’re craving crispy edges and a fluffy center, these Buttermilk Waffles are exactly what you need. They’re golden on the outside, tender on the inside, and packed with rich, buttery flavor.
The secret to perfect buttermilk waffles is real buttermilk. It gives them that classic slight tang while helping create a light texture with beautifully crisp edges. Whether it’s a lazy Sunday morning or a special holiday brunch, this recipe delivers every time.
I’ve made these buttermilk waffles for family breakfasts, brunch spreads, and even freezer meal prep. In this post, you’ll learn how to make them step-by-step, plus pro tips, flavor variations, and storage advice so they come out perfect every time.
Let’s heat up that waffle iron.
Why You’ll Love This Recipe
-
Crispy golden edges – Perfect waffle texture.
-
Fluffy interior – Light and airy inside.
-
Classic flavor – Slight tang from buttermilk.
-
Freezer-friendly – Great for meal prep.
-
Easy to customize – Sweet or savory options.
Buttermilk waffles are a breakfast classic for a reason.
Ingredients & Prep
This is a traditional waffle recipe using simple pantry ingredients.
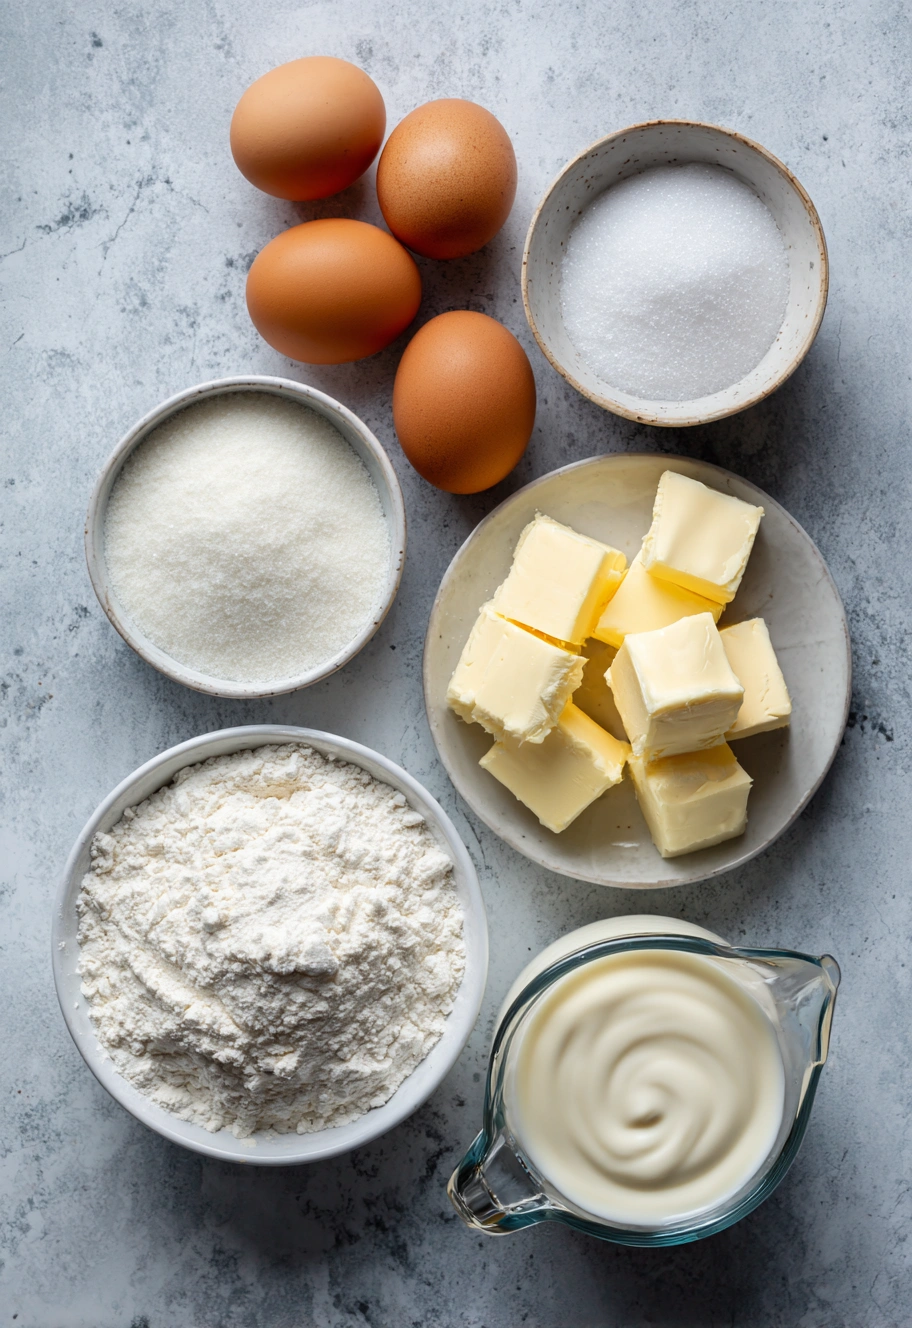
Main Ingredients Prep
-
2 cups all-purpose flour
-
2 tablespoons granulated sugar
-
2 teaspoons baking powder
-
½ teaspoon baking soda
-
½ teaspoon salt
-
2 cups buttermilk
-
2 large eggs
-
½ cup melted butter
-
1 teaspoon vanilla extract
Prep Tips:
-
Preheat waffle iron before mixing.
-
Melt butter and let cool slightly.
-
Bring eggs and buttermilk to room temperature if possible.
-
Lightly grease waffle iron if needed.
Seasonings, Sauces, or Flavor Base
To enhance flavor:
-
Extra vanilla
-
Pinch of cinnamon
-
Lemon zest for brightness
These additions elevate classic buttermilk waffles.
Pantry Staples
-
Mixing bowls
-
Whisk
-
Waffle iron
-
Ladle or measuring cup
Simple ingredients, delicious results.
Step-by-Step Cooking Instructions
Pre-Cooking Prep
-
Preheat waffle iron according to manufacturer instructions.
-
Lightly grease if needed.
Mixing the Batter
-
In a large bowl, whisk flour, sugar, baking powder, baking soda, and salt.
-
In another bowl, whisk buttermilk, eggs, melted butter, and vanilla.
-
Pour wet ingredients into dry ingredients.
-
Stir gently until just combined. Small lumps are fine.
Do not overmix to keep waffles fluffy.
Cooking the Waffles
-
Pour recommended amount of batter into waffle iron (usually about ½–¾ cup).
-
Close lid and cook until golden brown and crisp.
-
Cooking time typically 3–5 minutes, depending on waffle iron.
-
Carefully remove and repeat with remaining batter.
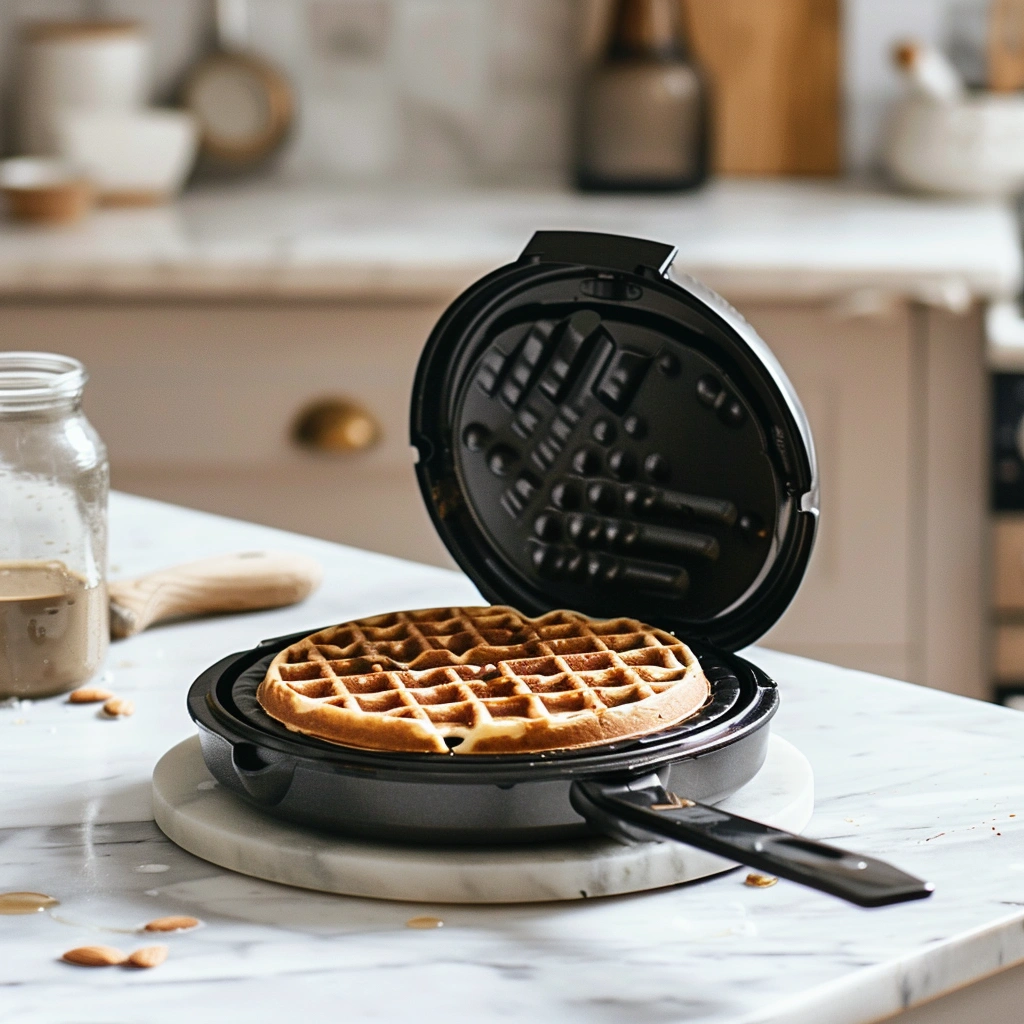
Doneness or Texture Check
Buttermilk waffles are ready when:
-
Steam has mostly stopped coming from waffle iron.
-
Outside is golden brown.
-
Edges feel crisp.
Place finished waffles on a wire rack to keep crisp.
Final Touches
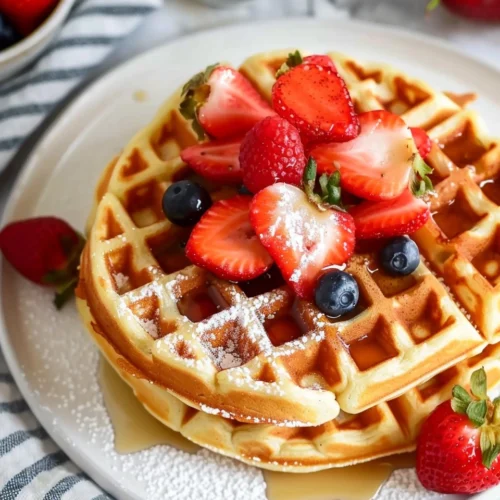
Serve warm with:
-
Maple syrup
-
Butter
-
Fresh berries
-
Powdered sugar
-
Whipped cream
For extra crispness, keep warm in a 200°F oven on a rack.
Pro Tips for Perfect Results
Common Mistakes to Avoid
-
Overmixing batter – Makes waffles tough.
-
Opening waffle iron too early – Causes sticking.
-
Stacking waffles immediately – Traps steam and softens them.
-
Not preheating iron fully – Affects crisp texture.
Recommended Tools
-
Nonstick waffle iron
-
Cooling rack
-
Measuring cups
-
Silicone spatula
These help create perfectly crisp buttermilk waffles.
Storage & Reheating Tips
Store leftovers in refrigerator for up to 4 days.
To reheat:
-
Toast in toaster for crisp edges.
-
Bake at 350°F for 5–8 minutes.
To freeze:
-
Freeze in single layer.
-
Store up to 2 months.
-
Toast directly from frozen.
They’re ideal for busy mornings.
Flavor Variations
Buttermilk waffles are easy to customize.
Spicy Version
Add warmth with:
-
Pinch of cinnamon
-
Dash of nutmeg
-
Pumpkin spice blend
Healthy / Special Diet Option
To lighten:
-
Replace half the flour with whole wheat flour.
-
Reduce sugar slightly.
-
Use olive oil instead of butter.
For gluten-free:
-
Use 1:1 gluten-free flour blend.
For dairy-free:
-
Use plant-based milk + 1 tablespoon lemon juice instead of buttermilk.
-
Substitute dairy-free butter.
Global Flavor Twist
Try new combinations:
-
Add chocolate chips.
-
Mix in blueberries.
-
Add lemon zest and poppy seeds.
-
Top with yogurt and honey for Mediterranean style.
You can even make savory waffles by skipping sugar and vanilla and adding herbs and cheese.
Serving Suggestions
Buttermilk waffles are perfect for any breakfast spread.
Serve With
-
Scrambled eggs
-
Fresh fruit
-
Yogurt parfait
Drinks
Pair with:
-
Coffee
-
Fresh orange juice
-
Iced latte
-
Smoothies
They’re ideal for brunch or weekend breakfasts.
FAQs
Can I make this ahead of time?
Yes! Buttermilk waffles freeze beautifully. Make a batch ahead and reheat in the toaster.
How do I fix common mistakes?
Waffles too soft?
Place on rack instead of stacking.
Too dense?
Avoid overmixing and check that baking powder is fresh.
Sticking to waffle iron?
Ensure iron is fully preheated and lightly greased.
Conclusion
If you’re looking for crispy, fluffy, and flavorful waffles, these Buttermilk Waffles are a must-try. They’re simple to make, freezer-friendly, and endlessly customizable.
Perfect for weekend mornings or brunch gatherings, they’re a timeless breakfast favorite that never disappoints.
Once you try them, they’ll become your go-to waffle recipe.
Buttermilk Waffles
Ingredients
- 2 cups all-purpose flour
- 2 tablespoons granulated sugar
- 2 teaspoons baking powder
- ½ teaspoon baking soda
- ½ teaspoon salt
- 2 cups buttermilk
- 2 large eggs
- ½ cup melted butter
- 1 teaspoon vanilla extract
- Optional Add-Ins:
- Pinch of cinnamon
- 1 teaspoon lemon zest
- ½ cup chocolate chips or blueberries
Instructions
- Preheat
- Preheat waffle iron according to manufacturer’s instructions.
- Lightly grease if needed.
- Mix Dry Ingredients
- In a large bowl, whisk together flour, sugar, baking powder, baking soda, and salt.
- Mix Wet Ingredients
- In another bowl, whisk buttermilk, eggs, melted butter, and vanilla extract until smooth.
- Combine
- Pour wet ingredients into dry ingredients.
- Stir gently until just combined (small lumps are fine).
- Do not overmix.
- Cook
- Pour about ½–¾ cup batter (or recommended amount for your waffle iron) onto the hot iron.
- Close lid and cook 3–5 minutes, until golden brown and crisp.
- Remove carefully and repeat with remaining batter.
- Keep Crisp
- Place finished waffles on a wire rack to prevent sogginess.
- Keep warm in a 200°F oven if needed.
Notes
- Avoid overmixing to keep waffles light and fluffy.
- Do not open waffle iron too early to prevent sticking.
- Store in refrigerator up to 4 days.
- Freeze in a single layer up to 2 months.
- Reheat in toaster for best crisp texture.